Every time you post an article on a blog or website, of course you add an image to make the article more interesting to read. The uploaded images must also be of good quality so as not to reduce the credibility of the blog.
However, you should also pay attention to the size of the image to be uploaded. The size of the uploaded image must be small so as not to slow down the loading of your blog page.
How can you upload a small image with good quality? You should optimize the image to maintain its quality at a smaller size.
Here are some reasons WordPress image optimization is important:
Increase Blog Loading Speed
Low page loading speed will result in a bad experience for visitors. It also results in a higher bounce rate and visitors will spend less time on your blog.
Requires Less Space
Usually, web hosting services provide unlimited disk space. However, it would be better if your blog or website uses less space in order to provide more agile performance.
Increase Ranking in Search Results
Search engines like Google prefer sites that load fast. By uploading optimized images, your site will load faster so that your site’s ranking in Google search results will increase.
There are various ways to optimize images in WordPress. You can apply one of them or combine several of them.
Here are four ways to optimize WordPress images:
1. Choosing the Right File Format
Before you start optimizing images with the help of plugins or compressors, make sure you’ve chosen the right image format.
The two most common image formats are JPEG and PNG
The JPEG format is usually used for photography or general images because it has a smaller file size, solid image quality, and can be resized and compressed without drastically reducing quality.
PNG is commonly used for vectors, logos, screenshots, and smaller images. Usually the size is larger than JPEG.
Apart from JPEG and PNG, there are many other image formats. One of them is WebP which has a smaller file size but with good enough quality.
2. Compress Image
When compressing images, you have to find a balance between the quality of the compression and the size of the images. Your goal is to get high compression quality with the minimum possible image size.
- Desktop Image Optimization Tool
The desktop image optimization tool allows you to control the optimization settings you want. Some of the popular tools include Adobe Photoshop, Gimp, Affinity Photo, and Paint.
- Auto Image Optimization Tool

If you want an easier way of compressing, you can use an automatic image optimization tool.
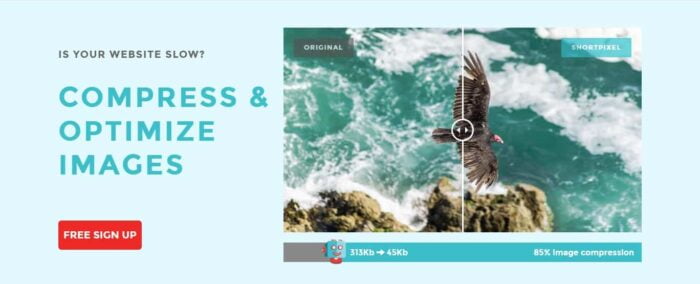
Some of the automated image optimization tools you can use are TinyPG, ImageOptim, OptiPNG, Trimage, and Kraken and ShortPixel.
- WordPress Compress Plugin
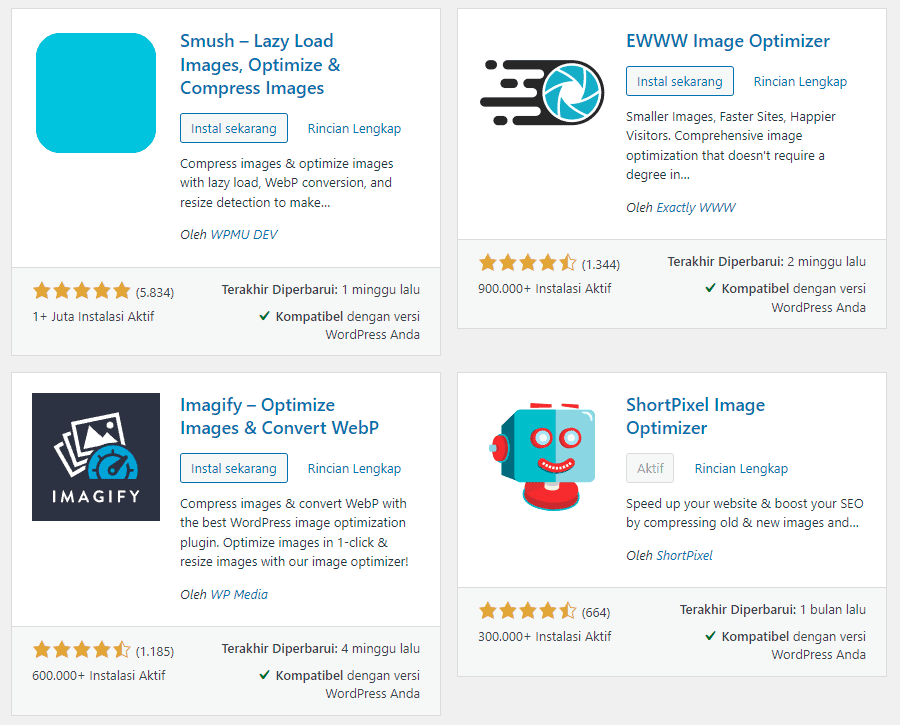
WordPress also provides various plugins to help you solve image optimization problems. Some of the plugins that you can use are Imagify Image Optimizer, ShortPixel Image Optimizer, WP Smush, and EWWW Image Optimizer.

3. Resize Image for More Optimal Display
Before you start optimizing your image, it’s a good idea to make the image that you want to upload is the right size. Fix the dimensions of your image first, that way the optimization will be easier.
For example, you only need an image with dimensions of 300 X 300, but instead you upload an image with dimensions of 3000 X 3000. This will make the image load slowly which may be annoying for readers.
To determine the dimensions of the image to be uploaded, you can adjust it to the image dimensions of the theme you are using.
4. Create SEO Friendly Images
Did you know that image optimization can help your pages and images rank better in search results?
In addition to optimizing images, there are several things you need to do so that the uploaded images are more SEO Friendly.
- Image Title Text Optimization
Image title text will appear when visitors hover over the image. Although not very important for SEO, this trick can improve the quality of the visitor experience.
To change the image title, click the image that you have uploaded in the post and a pencil icon will appear that will direct you to edit the image.
After that, in the Advanced Options, you can change the image title text in the Image Title Attribute column.
- Change Alt Text
Image alt text gives Google an indicator of what the page is about.
If you upload multiple images in one post, the alt text of the first image should contain the targeted focus keyword. Images other than that can use alt text that still contains the focus keyword, but with variations that are still relevant.
To change the alt text of the image, click the pencil icon again on the uploaded image so that Image Details appears. Then enter the focus keyword or keywords that are still relevant in the Alternative Text column.
- Use Appropriate File Names
We recommend that you do not name image files carelessly. Make an image file name that contains the focus keyword you are targeting.
Image file names can help the image to appear in Google Image Search which can be a source of traffic.
Therefore, before uploading it to WordPress, you should change the name of your image file according to the focus keyword.
Also, don’t forget to use hyphens between words in the file name. This is so that Google reads it as a space. If you don’t use hyphens, the image file names won’t be read as separate words.
Conclusion
By implementing the steps above, it will be easier for your images and sites to rank high in Google search results.
Your site will load faster, visitors will be satisfied, and ultimately help improve your search results ranking on Google.
When compressing images, it’s a good idea to use many tools until you find the right composition between image quality and image size.
